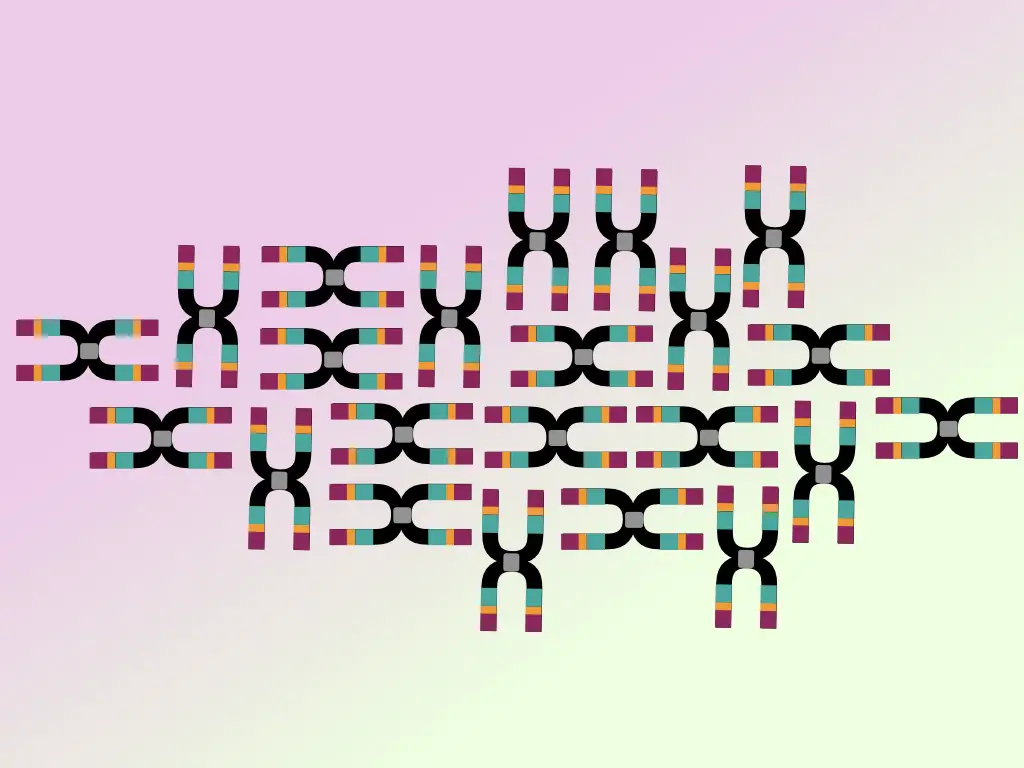
“Techniques used for the detection of DNA from any biological samples are DNA precipitation, UV spectrophotometer, fluorometric analysis, DNA polymerase chain reaction and gel electrophoresis.”
Suppose, if you want to know if there is a DNA in the sample and whose DNA it is, how can you know? Let’s find out.
In this article, I will discuss 5 techniques using which you can know if the sample contains DNA or not. In addition, I will also explain the process using which you would understand the source of the DNA.
This article is a fun thing! And will add value to your genetics learning. Stay tuned.
Key Topics:
5 Methods to Detect DNA?
DNA precipitation, UV- -spectroscopy, Fluorometric analysis, PCR and electrophoresis are a few techniques that we can use to know if a biological sample contains DNA or not.
DNA precipitation:
The present technique is the most popular and simplest technique for DNA detection. What we have to do is just isolate the DNA according to the given protocol, or as per the manual.
Now add a chilled doubled volume of alcohol, for instance, ethanol to the nucleic acid extract and mix well. You will observe a small cotton thread-like DNA precipitate if DNA is present in the sample.
However, it’s crucial to validate if the precipitate is only DNA using gel electrophoresis or polymerase chain reaction. The precipitate can be sent for post-processing and elution.
If you want to know more about precipitation you can read this article: A Quick Guide on DNA Precipitation.
Note that DNA precipitation has several limitations. Sometimes, a very small amount of DNA can’t be effectively precipitated. For instance, DNA is isolated from a very trace amount of a sample.
In such cases, other detection techniques can be used for validation purposes.
UV-Spectrophotometry:
UV-spectrophotometry is a simple, effective and quantitative DNA detection technique. DNA absorbs UV light at 260 nm. The spectrophotometer measures the absorbance of the sample at 260 nm.
By considering the ratio of 260/280, the presence or absence of DNA can be determined. Pure DNA has a 260/280 ratio of ~1.80. So if the value falls in this range or nearby, the sample contains DNA.
In addition, it can also give us an idea about the quantity of the DNA in the sample as well. Nano-drop light is the most popular UV-spectrophotometry used for DNA studies.
Note: The 260/280 ratio between 1.77 to 1.88 can be considered as a presence of DNA.
Fluorometric Analysis:
Fluorometric analysis is a fluorescence-based DNA detection technique. In this assay, a dsDNA binding dye like SYBR green or EtBr can be used which when binds to the DNA, if it is present in the sample, emits fluorescence.
The machine records the fluorescence signal as a positive signal for the presence of DNA. However, it’s not as precise as the UV-absorbance technique. Fluorescence-based detection has one advantage, the dye will never bind with the single-stranded DNA and thus help us more accurately investigate.
Qubit is the most popular Fluorescent-based analysis instrument for quantitative DNA analysis. Real-time PCR is also another assay that uses a dsDNA binding dye for DNA detection.
Hey, if you want to understand the difference between fluorometric analysis and spectroscopic analysis, you can read this article. The Qubit is an instrument that uses fluorescence chemistry whereas the Nanodrop light uses UV-absorbance chemistry for detection.
Related article: Qubit vs Nanodrop Light.
PCR:
Polymerase Chain Reaction is the best DNA detection technique among all these. However, it’s commonly used to determine the source of the DNA (organism or species the DNA belongs to) rather than just validating the presence or absence.
It’s a bit complicated and sequential process in which first, we have to perform DNA extraction, DNA quantification, DNA quality DNA and then DNA amplification. PCR tells us not only the presence or absence of DNA but also to which organism the DNA belongs.
Meaning, it can accurately tell us if the biological sample that contains the DNA belongs to Sam, McClinton, a crocodile or some bacteria. Isn’t that amazing?
Agarose gel electrophoresis:
Yet another validation assay is gel electrophoresis. The extracted DNA sample can be loaded on an agarose gel and run under the electric current. DNA migrates in the gel and is separated based on its charge and migration speed.
Gel electrophoresis helps in the validation and lets us know if the sample contains DNA or not. In addition, the present technique is also used as a subsidiary analysis technique in the PCR as well. The PCR products are run on a gel to know to which organism the sample belongs.
Bonus information: Some biochemical assays like diphenylalanine or PicoGreen assays can be used to determine the presence or absence of DNA in any biological samples. Such chemicals react with the chemical constituents of the DNA. Biochemical tests also perform quantitative analysis.
Sample requirement for different techniques:
| Method | Sample requirement |
| Spectrophotometric analysis | 1-2µl |
| Fluorometric analysis | 8-10µl |
| DNA precipitation | 500-1000µl |
| Gel electrophoresis | 7-10µl |
| PCR | 3µl (~100ng/µl) |
Whose DNA is it?
Now we will know how to know the source of the DNA sample. I will explain the process in a sequence that will help you understand the process.

Step 1:
DNA isolation is performed first. The DNA, if present or not, is isolated using a manual DNA extraction method or ready-to-use kit.
Step 2:
Now, we have to precipitate the DNA. Any alcohol, as aforementioned, can be used for DNA precipitation. Note that if a visible precipitate does not appear, still the sample can be sent for the next step.
Sometimes, a small amount of DNA precipitate or fragment can’t be visible in a tube.
Step 3:
UV-spectroscopic analysis using UV-absorbance at 260nm determines the presence of DNA. A microliter amount of extracted sample is placed in the machine which analyzes the sample within a minute and gives us results.
UV absorbance also performs quantitative analysis and lets us know the quantity of the DNA. However, for accurate quantification, fluorometric analysis has been carried out.
Step 4:
Using a fluorometric technique the DNA can be effectively quantified. The fluorescent dye will only bind with the dsDNA and quantify the amount of dsDNA present in the sample.
Up to this, we will know if our sample contains any DNA or not! Now, to validate the source of the DNA, we have to perform PCR.
Step 5:
Sequence-specific primers are used to quantify the DNA, which we have obtained in steps 1 to 4. Agarose gel electrophoresis, melting curve or real-time quantification can be performed to validate the results.
Optional step:
If the source of the sample is unknown, DNA sequencing is conducted. The sequencer reads the sequence, we can analyze the sequence and perform a comparative analysis to know the source of the DNA.
Step 6:
In the last step, the PCR products are run on the agarose gel to determine the fragment size thereby the source of the DNA. Electrophoresis is also used for the validation of DNA during the first step.
The extracted sample can directly be run on 0.8% agarose gel for validation purposes.
Wrapping up:
The crucial step in this entire process is isolation. You have to perform DNA isolation or choose a DNA isolation technique very precisely. For instance, some techniques can’t isolate DNA from trace amounts of samples whereas some ready-to-use kits are capable enough to sample a very small sample volume.
You can read this article on how to choose the right DNA extraction technique to learn more about the practical process of choosing the DNA extraction method. Lastly, keep in mind that this is a rough overview. There is so much technical, wet and dry lab work involved in the process.
I hope you like this article. Please share it and bookmark the page. Join our weekly newsletter and live classes.
P.S: Check out the PCR Mastery Course.

Subscribe to our weekly newsletter for the latest blogs, articles and updates, and never miss the latest product or an exclusive offer.