“Plasmid DNA isolation is a crucial scheme in genetic engineering and gene therapy. Let’s understand the process of plasmid DNA isolation along with one standard protocol.”
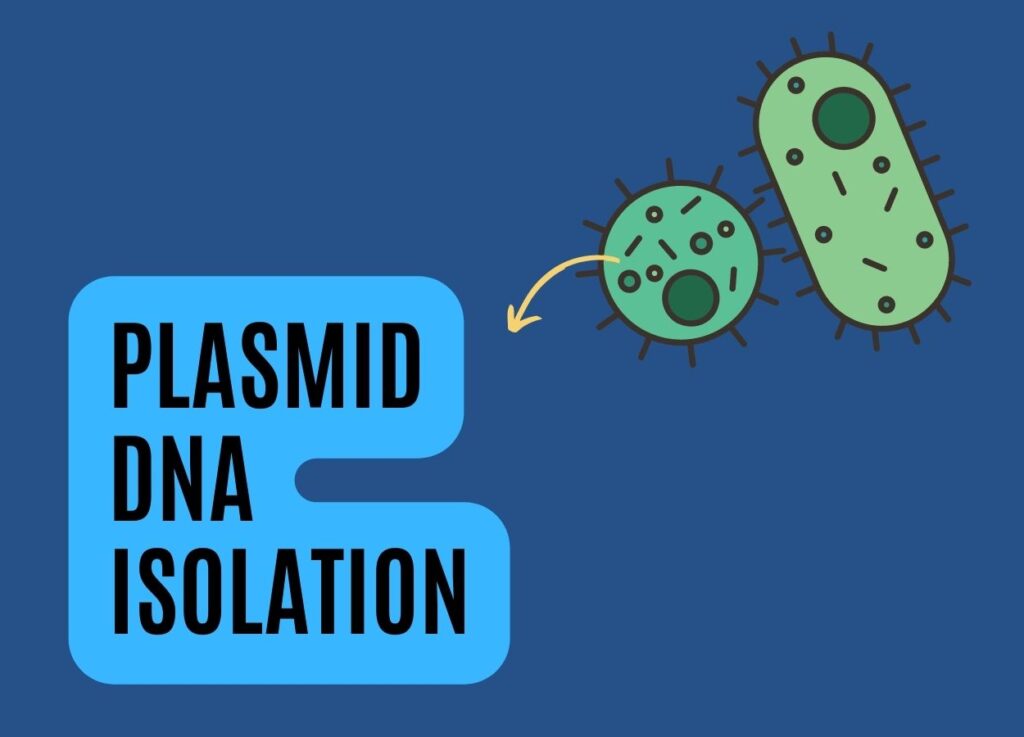
Plasmids are small, circular and single-stranded bacterial DNA. It is present in the cytoplasm and replicates independently from the bacterial chromosome. It carries several important genes and transmits to other bacterial progenies.
This property of plasmid is suitable for genetic engineering and recombinant DNA technology. Here, scientists utilize plasmid as a cloning vector. A gene of interest is inserted into the plasmid and allowed to spread to other cells.
The copies of the desired gene should either be allowed to be expressed or isolated for gene editing or genetic engineering purposes. Therefore, any bacterial chromosomal-free and high-quality plasmid isolation is important for molecular genetic applications.
At Genetic Education, we re-research the knowledge and present you in an epic way. We find protocols, tips and optimization schemes in one place so that you can save time and gain valuable knowledge.
In this article, I will explain to you how to extract DNA from a plasmid, the importance of plasmid DNA extraction, common problems you may face and how to overcome them. This article is a one-stop place for you to plasmid DNA extraction.
Related article: Plasmid DNA- Structure, Function, Isolation And Applications.
Key Topics:
Introduction to plasmid DNA extraction
Plasmid is an integral element of bacteria that consists of a few genes– for example an antibiotic-resistant gene that helps the host to survive. It’s independently and rapidly replicating, so when we insert a gene of interest, we can create copies of that particular gene or even produce expressions.
Isolation of plasmid DNA from bacteria is a relatively easy scheme, however, it needs extra care to include bacterial chromosomal DNA from the final isolate. The principle completes in only two steps– breaking the bacterial cell and isolating the plasmid from the rest of the material (chromosomal DNA and cellular debris).
Bacteria usually contain a soft cell wall that can be lysed by enzymatic, mechanical or chemical lysis. Any lysis buffer containing SDS and other ingredients can lyse the bacterial cell. In the very next step, the low molecular weight plasmid DNA is isolated and purified.
- Cells are lysed by the SDS-containing buffer.
- Genomic DNA is removed by centrifugation.
- Cell debris is removed by protein precipitation.
- RNA is removed by RNase action.
This is the simpler representation of plasmid DNA isolation, however, not isolation but the purification of the plasmid is crucial here. Plasmids are available in various sizes so we need to isolate the target plasmid.
Column-based purification is the best practice for plasmid purification, still, plasmid DNA can be recovered by alcohol purification as well. It’s important to mention that the genomic DNA may be precipitated but the plasmid can’t. Plasmid DNA remains soluble.
Related article: 10 Different Types of DNA Extraction Methods (Updated).
Methods for plasmid DNA isolation
In this section, we will discuss some important methods used in plasmid isolation.
Alkaline lysis:
The most common and popular method for plasmid DNA isolation is Alkaline lysis by Birnboim and Doly. The important ingredient in this process is an alkaline solution, that’s why the name is given.
The initial step is collecting the bacterial colonies having plasmid of interest. The type of culture media has a significant impact on the quality and quantity of plasmid DNA, it’s important to grow bacteria on a suitable medium.
Collect bacteria, grown on the standard LB-medium (I have no idea about it, and how the process works, because I’m not a micro bio geek!).
Centrifuge it at high speed to collect the pellets.
Now add 350 µL solution 1* to the pellets and RNase A. Tris maintains the ionic strength, EDTA chelates metal ions and inactivates nucleases and RNAase enzyme removes all the RNAs from cells. Some literature suggests adding Glucose to prevent cell bursts.
*Solution 1: 50mM Tris-HCl; pH 8.0, 10 mM EDTA and 100 mg/mL RNase A (Store at 4°C)
Gently mix the solution and allow the chemicals to react for some time.
Now add 350 µL alkaline lysis buffer (It’s also known as solution 2 as well). And incubate the sample at room temperature for a minute. Prolonged incubation may shear genomic DNA.
Alkaline buffer: 0.2 M NaOH and 1% SDS.
Interesting series of events occur during the alkaline lysis. Sodium dodecyl sulfate solubilizes the cell wall and performs protein denaturation, we all know that. For this reason, SDS is prominently used in the DNA isolation of cells having a cell wall.
NaOH conversely performs cell wall lysis and DNA denaturation. It denatures the genomic DNA as well as the plasmid DNA and forms single-stranded DNAs. The mixing should be performed so gently.
Vigorous mixing and prolonged incubation may fragment the genomic DNA which reanneals faster during the neutralization or reannealing step. We only want to reanneal plasmid DNA. This entire process is completed in the highly alkaline solution, this step is referred to as alkaline lysis as well.
Now in the next step, we will collect our plasmid.
Add 400 µL neutralizing buffer, mix gently and incubate for a few minutes.
Now alkaline solution– for example, potassium acetate forms hydrogen bonds between DNA bases and re-anneals the DNA. Circular plasmid DNA is smaller in size and thus can be re-annealed easily and become double-stranded.
However, for the larger bacterial chromosomal DNA, it’s difficult to become double-stranded in the meantime, so selective re-annealing is performed for a few minutes only to collect plasmids. As we aforementioned, rigorous mixing prevents genomic DNA shearing, and thus no genomic DNA fragments will neutralize during this step.
Neutralizing buffer or buffer 3: 3M Potassium acetate at pH 5.5.
After gently mixing for a few minutes, precipitates of single-stranded genomic DNA, proteins and other cellular debris are formed.
Centrifuge the sample at a high speed, RT and a minute and collect the supernatant. This contains pure plasmid DNA. But wait, it’s yet not over.
The next step is washing. This can be done in two ways. You can use the classic alcohol purification method or use columns.
Precipitate the plasmid DNA with an equal volume of alcohol (500 µL, 70% alcohol) and wash it 2 times with ethanol. It will remove other proteins, chemicals and salt, leftover from the plasmid DNA.
Note: plasmid DNA can also be precipitated using isopropanol. To increase the yield use chilled alcohol or incubate the sample on ice for 20 to 30 minutes before precipitation.
Dry the pellets at 65°C for 10 minutes.
In the last step, depending upon the assay requirement, the plasmid DNA is re-hydrated in either elution buffer, TE buffer or dd/w.
Wrapping up:
Many protocols for plasmid DNA isolation are available, however, the spin-column technique is highly recommended as it provides highly pure plasmid DNA. Plasmid DNA is a crucial requirement for genetic engineering and gene alteration research.
I hope you like this article. Please share it and let me know if anything is missing.
Subscribe to our weekly newsletter for the latest blogs, articles and updates, and never miss the latest product or an exclusive offer.


