“Learn how to process a typical Chorionic villi sample for PNDT with my proven SOP and standard protocol. Follow the process to develop your assay and get accurate results.”
The Prenatal Diagnosis Technique (PNDT) is widely used in the screening and diagnosis of fetal genetic abnormalities. We can say it’s a kind of “Pregnancy Genetic Test.” Such techniques are so beneficial and successful that they are even now used in healthcare and medical sciences.
It helps parents to make informed decisions about the health and well-being of their unborn child. So it can be used to spread genetic diseases and thus, it is popularly in demand. However, risk factors and ethical issues are associated with fetal genetic testing.
Medical geneticists are using it to test sickle cell anemia, thalassemia and single-gene disorders. It is also used for fetal chromosomal investigations like Down syndrome. I was involved in a prenatal genetic screening and testing program. Our program was basically associated with prenatal testing for thalassemia and sickle cell anemia.
We helped parents make a decision about the pregnancy. So I know the process and technique very well. And therefore I’m writing this article to share my SOP and working process with you and other researchers. So that you can improve your PNDT screening or testing program.
I will also provide my standard protocol for extracting DNA from a chorionic villus sample. The present article is an important and valuable asset. Read the complete article.
Stay tuned.
Key Topics:
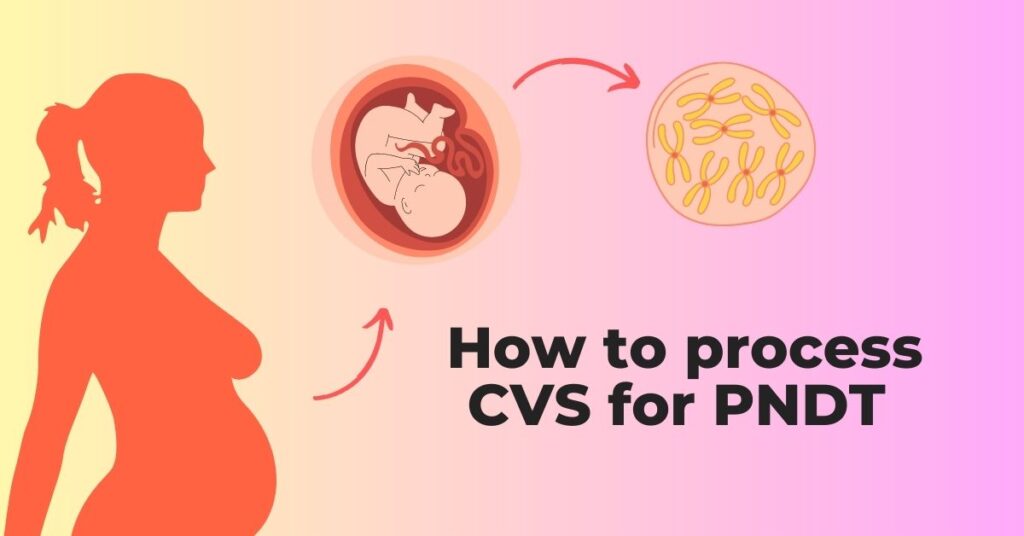
How to Process a CV (Chorionic Villi) Sample for PNDT?
Chorionic villus or villi sample is the popular sample type of Prenatal Diagnosis and Testing. CVS is a small fetal tissue isolated from the placenta. It is advisable to isolate CVS during the 11 to 14th weeks of pregnancy.
Scientists can process the tissue for cytogenetic as well as molecular genetic analysis in order to screen various genetic diseases and conditions. However, one important procedure must be followed before processing the sample which we will discuss later in this article.

The process from sample collection to analysis is explained here.
Sample collection:
Remember, a geneticist can’t collect CVS. The sample must be collected by a qualified gynecologist, radiologist or obstetrician. It should be collected under sterile conditions.
As CV sampling involves the risk of miscarriage or fetal loss, care must be taken while sample collection. The sample is collected in a sterile container and immediately transferred to the nearest genetic center or prenatal testing center.
1 to 2 grams of CVS is sufficient for genetic testing.
Checklist:
- Collect samples under strict aseptic conditions.
- Use sterile instruments.
- The sample must be collected by informed consent.
- Check sample information: collection date, time, temperature and medium.
- Accept the sample only if all the parameters are checked.
Sample preparation:
Sample preparation is a crucial step in PNDT. The CVS should be washed to remove the maternal blood stains. Particularly, for the DNA analysis, the presence of material blood stains interferes with the results and causes false positive results.
Henceforth, maternal cell contamination must be removed before cytogenetic or molecular genetic analysis. The process of MCC is explained in our previous article. I have given the link here. You can click to read it.
In short, the sample is taken into a sterile petri dish and washed with PBS (Phosphate-buffer saline) two to three times to remove impurities. You can use a sterile pipette tip to separate blood stains from the fetal tissues.
Disaggregation of sample:
CVS is a solid tissue sample and should be disaggregated before DNA extraction. Single-celled/ homogenous suspension is prepared using mechanical and chemical treatment. The unconventional mechanical process (which I personally followed) is separating the tissue using the pipette tips.
Take two sharp tips and dissect the tissue. Incubate the sample in the TE (Tris-EDTA) buffer for 15 minutes at room temperature for effective disaggregation. Follow the procedure until the homogenous cell mixture is obtained. Give a final wash with PBS and remove the impurities.
Genetic analysis:
Now the sample is ready for genetic analysis. The sample can be processed for either chromosomal analysis (cytogenetic investigations), DNA analysis (molecular genetic analysis) or both.
Molecular investigation:
DNA isolation
Molecular genetic investigation is carried out to study single gene disorders or mutations. DNA isolation is the first step in the molecular genetic investigation. Here is our simple and most effective protocol for isolating DNA from CVS (as I promised!).
- Take a few CVS tissues in the sterile Eppendorf tube and add TE buffer (300 to 400µL).
- Mix it well and centrifuge the sample at low speed for 15 minutes.
- Remove the supernatant, and add proteinase K and DNA extraction buffer to the pellets.
- Incubate the sample till the pellet is completely dissolved. Incubate at 65°C for 3 to 4 hours or overnight at 37°C.
- After the incubation add an equal volume of chilled alcohol (isopropanol) and invert several times to precipitate the DNA. Observe the precipitate and process for washing.
- Wash the sample with 70% alcohol (1 or 2 times) at 10,000 rpm for 1 minute.
- Dry the DNA pellets and dissolve pellets in 200 to 300 µL TE buffer.
- Perform quality and quantity checks.
Processing:
Restriction digestion, polymerase chain reaction, DNA sequencing and microarray are techniques that can be used for sample analysis. Each technique has its own advantages and disadvantages.
Restriction digestion: RE can be used to determine a single or a few known alterations for a gene or disease. It requires a restriction enzyme and a recognition sequence in the target DNA to perform the digestion.
PCR: Polymerase chain reaction is widely used for the analysis of mutations and alterations associated with a disease. SNPs, insertions and deletions are commonly studied and reported. Mutations associated with sickle cell anemia, thalassemia and Huntington’s disease can be studied easily.
Conventional PCR and qPCR are widely used in prenatal studies and diagnosis. It is an accurate, sensitive and reproducible technique.
DNA sequencing: The sample can also be processed for DNA sequencing. It can determine known as well as unknown variations associated with the gene or disease. Pathogenic variants can be identified and studied.
Techniques like Sanger sequencing and NGS are widely used in prenatal diagnosis to investigate monogenic and polygenic diseases.
Microarray: DNA microarray is powerful enough to study thousands of alterations from a sample. It is a hybridization-based technique that enables prenatal diagnostic labs to investigate alterations associated with single or many genes, or diseases.
The microarray requires previous sequence information to design the assay and extensive computational analysis.
Results and Analysis:
Agarose gel electrophoresis has been used to run and study the results of PCR and restriction digestion, while computational analysis is carried out to study the results of sequencing or DNA microarray.
Cytogenetic analysis:
In order to investigate chromosomal defects such as trisomies, chromosomal breaks or insertions, translations and other structural anomalies, cytogenetic analysis can be performed from the fetal sample.
A chorionic villi sample can be easily cultured, compared to amniotic fluid. However, the cell culture technique indeed is a difficult task. The sample should be processed within 24 hours to get a good yield.
Karyotyping: Karyotyping is the conventional and most popular technique to study chromosomes. It is used to identify larger structural anomalies, for example, the deletion of the whole ‘p’ or ‘q’ arm and mono-, di- or tri-somies.
A standard fetal cell culture media is used for cell culture. All the steps are performed under strict aseptic conditions (processed after disaggregation). The sample is incubated for 72 hours in order to culture the cells and capture the metaphase.
The metaphase chromosomes are captured, harvested and used to study. Chromosome staining or banding is performed and observed under the microscopes.
FISH: Fluorescence in situ hybridization is now popularly used in prenatal studies to report minor structural anomalies that karyotyping can’t report. It is a hybridization-based technique and doesn’t require cell culture.
Reporting:
Once the analysis part is completed, the data are collected, re-analyzed and submitted to the head geneticist. If any abnormality is found in the sample, the genetic counselor conducts a session with parents and helps them to understand the condition and what to do next.

Wrapping up:
PNDT is a technique to study the fetus early during pregnancy. The pregnancy can be managed further if any abnormality can be detected. Henceforth, it is an important step for prevention.
However, it may cause fetal loss and is therefore advised only when required. Ideally, women having a history of any genetic disease in their family and age above 35 are strongly recommended to go for the PNDT test.
I hope you like this article. Please share it and bookmark the page.