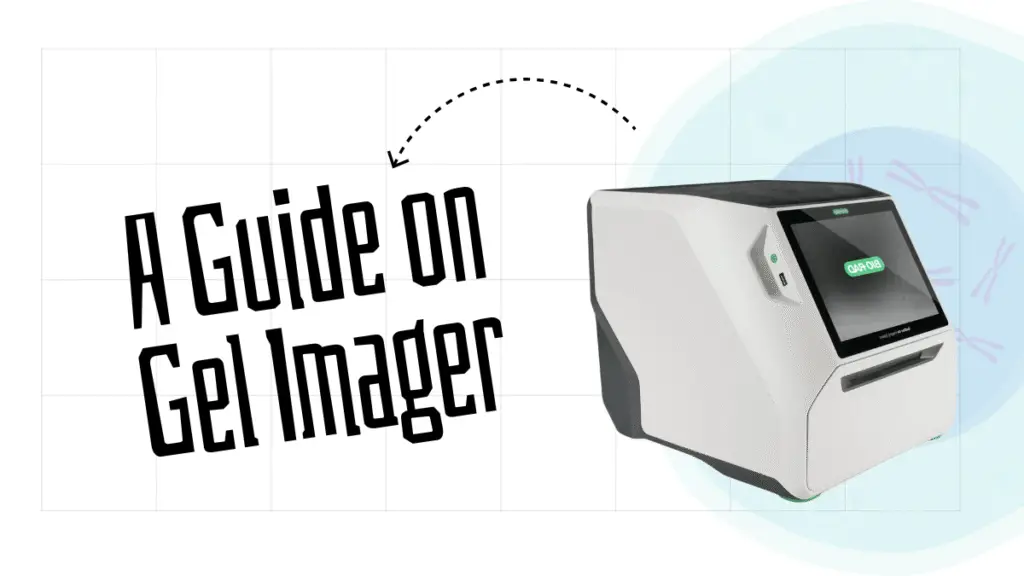
You have probably seen a gel image on the Internet, with a dark, black background, where the shiny and glowy DNA bands appear. Or you have seen a gel imager in the lab. That captures the gel image.
Gel electrophoresis is a crucial molecular technique. It helps separate molecules like DNA based on size and charge differences. However, DNA can’t be directly seen on a gel.
A UV source is required to visualize the DNA bands. Want to know how it works? Explore this complete guide on gel imager.
In this article, I will explain what a gel imager is, how it works, its mechanism, types and applications. It’s a complete article to understand how the gel imaging system works.
Stay tuned.
Key Topics:
What is a gel imager?
A gel imager is a molecular lab instrument used to image or visualize DNA. It is popularly known as the Gel documentation system. Now, the question is, why do we need it?
Let’s understand it.
DNA doesn’t have its color or odor. It can’t be seen, thus. Now, to make it visible, we use an intercalating dye. This dye intercalates within bases, and when we apply light (UV), it emits fluorescence.
This fluorescence is only visible if DNA is present. EtBr and SyBr Green are the two popular intercalating dyes.
Got the point?
Now, for visualizing the DNA, the instrument has a specialized setup for capturing, processing and visualizing the gel image. The present complete instrumental system is known as the Gel Doc or Gel Imager System.
Components:
Common components of a gel imager are the UV source, imaging chamber, filters (UV, blue and white light), camera, Lenses and imaging software.
Light source:
The light source is an important part of the gel doc system. Three various light sources are UV light, blue light and white light sources.
The ultraviolet light source is the key component of the gel doc system. DNA bands will only be visible under UV light. We already explained why! UV light or a transilluminator emits UV rays.
It is widely employed for EtBr-stained gel. For SYBR green and protein visualization, blue and white light are used, respectively. Check out the table below to know more.
| Gel stain | Light source | Emission color | Filter | Safety |
| EtBr | UV | Orange/Red (~590 nm) | Orange Filter | Not safe |
| SYBR green | Blue | Green (~520–530 nm) | Green Filter | Safe |
| commasie/silver | White | Blue bands (visible) | No Filter | safe |
Imaging chamber:
The imaging chamber or UV-chamber, is a dark and closed chamber in which we need to place our gel. Note that UV light directly damages our DNA and vision. So it is important to remain detached from the UV source.
The imaging chamber only emits UV light on the gel, so we can’t have direct contact with it. Thus, the imaging chamber is a safety component of the gel doc system. In addition, it also provides a dark and close environment to capture a good-quality gel image.
Camera:
The closed imaging chamber is equipped with a high-definition camera. As we know, the camera functions here to capture the gel image. The camera is a bit different from our normal mobile camera.
It has a sharp imaging system, zoom and low-imaging features. The camera is attached to a computer system. After processing and capturing the image, it appears in the computer software.
Imaging software:
Lastly, the whole instrument is attached to an imaging and analysis software. The gel doc integrated software prepares a sharp gel image, and also facilitates labeling and analysis facilities. The software also has a feature to store and share the gel image.
Mechanism of gel doc system:
When a gel is placed in the gel chamber, fluorescence is emitted from the gel depending on the light source selected. The camera captures a high-definition image of the gel, which is analyzed in the software.
Gel imager system types:
Now, those who worked on the gel doc system know that it’s not a difficult instrument. I can say it’s rather an assembly of many systems. Thus, many local and highly sophisticated gel imager systems are available in the market.
In this section, I am listing a few good instruments. Keep noted, I will explain company-wise instruments, not individual instruments.
ThermoFisher Gel Doc System:
Invitrogen (by ThermoFisher) provides a wide variety of gel documentation system solutions. Starting from a simple UV-transilluminator, they have an E-gel imager system, an E-gel power snap and an iBright Imaging system.
The specifications for all these instruments are provided here.
| Instrument | Key features | Limitations |
| E-gel Imager system | Compact, Blue/UV light and multiple filters | No touch screen, no display, low-quality image and PC-only |
| E-gel power snap | Supports electrophoresis, integrated display and UV-illuminator options, SYBR green stain only | No PAGE and Western blot analysis |
| iBright Imaging system | EtBr and SYBR green stain analysis, in-built software and analysis display, no computer needed. | No E-gel support. |
BioRad Gel Doc Systems:
| Instrument | Key features | Limitations |
| ChemiDoc Imaging system | Visible light, fluorescence and chemiluminescence detection. Stain-free detection for Western blot. Built-in display. | High cost and overpriced for routine gel analysis. |
| Gel Doc Go Gel Imaging System | Benchtop, built-in display, and swappable tray for various filters. | Less sensitive than ChemiDoc |
| GS-900 densitometer | LED transmissive/reflective CCD; auto NIST calibration, Accurate, reproducible densitometry; regulatory-ready; large gel capacity | Bulky; single-mode densitometry only; no fluorescence/chemo and no built-in display for analysis. |
| Gel Doc EZ | Stain-free, publication-ready, and easy to use. Swappable tray for various filters | Require an additional computer for image analysis. |
What information does a gel imager provide?
Now, one crucial question is, if we already have an illuminator, why do we need a gel imager? What information does it provide? And what is the difference between the UV-transilluminator vs the Gel doc system?
Gel imager is the optimized and advanced version of the UV-transilluminator, that’s it. In addition, it can’t provide any type of quantitative information.
It provides a high-definition gel image. We can zoom in and out of the image, change the color pattern or saturation to visualize smaller bands. And store the image. In addition, the gel can be labeled lane-wise.
Applications of gel imager:
- The gel imager or any gel documentation system has been used for a variety of conventional analyses, including DNA, RNA and protein analysis.
- Thus, during nucleic acid analysis, it has been used for mutation studies, determining fragment size and validating amplicon and restriction digestion products.
- During Western blot analysis, it can also determine the quantity of a protein (densitometry) using a gray scale analysis.
- It is widely used in genetic research, molecular labs, diagnostics, forensic and other scientific departments for nucleic acid and protein analysis and studies.
Limitations of the Gel imager:
- The first limitation is the use of UV light, which, when leaked, is dangerous.
- It can not provide accurate quantitative information.
- It can not determine fragment size without a marker or ladder.
- It can not perform automatic analysis or report generation.
Future suggestions:
Gel documentation or gel imaging systems have been extensively used in molecular labs for years. However, it requires upgradation in terms of technology.
Gel-based PCR analysis is a gold-standard method for several analyses, like thalassemia or sickle cell anemia. Gel doc should have pre-built analysis protocols for validated and popular assays.
It should have automations, because many operations are performed manually, for instance, selecting the filter or plate. It should have an advanced option that can identify and recognize the gel, strain and accordingly use a filter.
It should also have advanced image editing options.
In recent times, cloud-based image storage facilities should be present in the gel imager.
Wrapping up:
That’s it for the gel imager. I hope now you have a clear idea of what the gel doc system is and how to use it. It is still a crucial instrumental requirement in any molecular genetic lab.
However, the lack of advanced analysis options and detection limitations is still a concern. I hope you like this article. Do share and subscribe to Genetic Education.